For my research project I worked together with Anthony to learn photogrammetry workflow with Agisoft. Going into the project we had a basic idea of how the process worked, but after a trial run we quickly learned that the process was much deeper than we expected. For this post I will go over some of our struggles learning the program first and then go deeper into how the workflow actually works (which happened after we found much, much better tutorials). I won't be going over much of the camera/photography based info on the workflow because that was more Anthony's part of this project but I will list some tutorials we used that help and both will go over that part of photogrammetry for the curious.

One of the first things we attempted to capture was my Nathan Drake Pop figurine. We thought it would be a simple enough prop to capture, and thought the surface was matte enough to not cause problems with reflections.

The results were non-existent. We had a photo-set of about 20 photos and only 2 of the photos registered as a camera in the program. When we tried to work through the "workflow" part of Agisoft the program would report with this error and nothing would be generated. At one point we got a malformed ball of mesh to generate but I'm still not sure how we even got that because I can no longer get the photo-set to generate that result (I tried to recreate it for the sake of this blog post). We were quickly learning that a lot of the walkthroughs available online were either irrelevant to the workflow we needed or made for a different version of Agisoft. Frustrated, we also tried to mask out every but Nathan from the picture, but that had no demonstrable difference

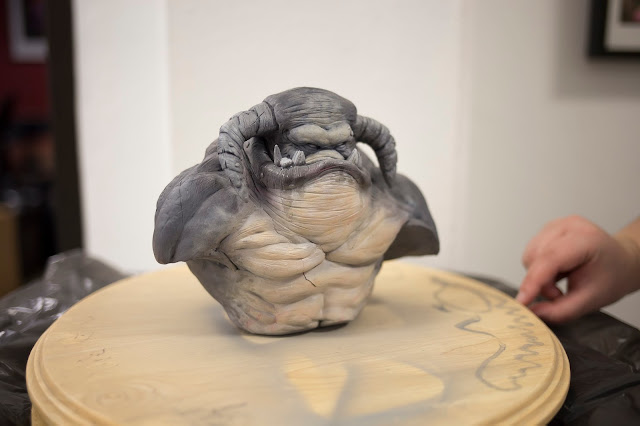
Next we took a sample photo-set online from the Agisoft website to make sure we were using the program itself correctly. We used the doll photo-set and as you can see above the pictures worked perfectly. At this point we were so confused, because we tried to meticulously photograph Nathan in the exact same position, rotating him around in place. We started to guess that because our background was fairly busy that it could be the source of the problem. Also, our smaller photo-set could have contributed to the error as well. The next day, we took a photo-set of one of Nick's monster busts in the gallery. We made sure to have the background be less busy and used a lazy susan to take the photos.
This time we were much more confident with the photos we took, and this time we took around 90. However...

While all the photos registered as cameras this time, ALL of them were on top of each other, resulting in an unusable mess. At this point we had no idea what we were looking at.

And when we generated the mesh it did not get much better. It was at this point I was led to the Udemy tutorial by Connor and after that things started taking a turn for the better.

Following the tutorial, I learned a more beneficial way of masking out photo-sets and got a perfect explanation as to how the program actually works. That being said, the next part of this post will focus on explaining the steps of the program as I best know it. As I am still a beginner, my explanation might not be a perfect so for more in depth look at Agisoft and photogrammetry please check out these two tutorials:
These two and the tutorials I found so far that have been the most helpful to me in learning Agisoft. Now, let's get started!

So, this is more or less what you will see opening up the program for the first time. Your background will probably be white instead of purple, though, and you will also see a trackball and region. But if you want a big, beautiful, blank, purple background like mine I can show you how to get one.

If you go to View > Show/Hide Items you can change what elements will show on the screen. It is recommended to turn off the trackball and region in the Udemy tutorial but the trackball can be beneficial in navigating the space for the first time and is hidden when you switch tools in cleanup (I'll go over this more later). When you setup the cameras for the first time I recommend keeping the region to make sure the model won't be accidentally cut off, but there is not much of a use for it as far as I can tell unless you need to trim down data to capture only part of a scene (like a chair in a full room scan).

If you go to Tools > Prefrences you can open up this screen and change the background color. It is recommended to change the background color per project to make it easier to detect stray points during cleanup.
Now, let's get something into the program so we can see what it's like to explore the virtual space.

Agisoft is kind in that is provides us a handy Workflow tab that you can use to navigate the workflow! First step is to add a photo-set. You will want to do whatever editing to the photos before importing them into Agisoft. While there is a way to mask in the program itself, if you want to mask the photos before working with them I recommend doing so in whatever program you are already more comfortable in (for me that is Photoshop, so I will cover my process using that program).
To go over a basic sense of how the photography part of this work, the idea is to take photos of your subject that:
- depict them with the flattest lighting you can
- as little discrepancies as possible between photo
- as sharp as possible with contrast to the background.
- have less noise
If you take photos outside you want a cloudy day due to it having more uniform lighting, but in general you should shoot inside where you have more control over lighting if you have a choice. Reflective objects are bad to shoot because the lights that reflect on the object will change position based on both the object's location and your location. Monochromatic objects are also bad because of lack of detail. The program works by comparing imperfections and details on the subject. You want to cover all angles you can and get close ups. Generally speaking, you want to shoot for a minimum of 100 photos. If you are capturing something that might move or change over time, work fast! You want the subject to keep it's positioning as closely as possible (you will see what happens when they don't later).
Also, shoot everything RAW and save as TIFF after editing.

To mask items in Photoshop I have a action mapped to F4 that adds a mask, saves the file, and closes. My process is I open as many photos as separate files as I can at once and go through file to file masking the subject I want to generate then press F4. It can be kind of time consuming so I am looking into ways to expedite this process to use in the future. Also, in theory you can get Agisoft working without adding a mask to the photo-set but for some reason we couldn't get any of our initial sets working without a mask so I have used them as a safety precaution for the sake of this research project.

So, NOW that we are ready to add our photo-set go to Workflow > Add Photos. The photos will show up as a set of "cameras" in viewer both at the bottom of the screen and under the "Chunk" drop-down on the left side of the screen. Camera is fancy Agisoft language for a photograph, so basically a camera is the same thing as a photo.To import masks, select all images that you want to add a mask to and go right click > Import Masks.


In the import mask selection, you want to keep the method to "from alpha" and everything else the same.

After a short processing window, you can check the alphas by clicking and opening a photo. There is a mask view in the top toolbar as shown in the photo above that you can select that should show you the mask you added. It will show up with everything masked as slightly darkened, as seen above.

Now that we have our cameras in and our alphas snugly attached to each photo we can go ahead and move to Workflow > Align Photos! Our next step. This is the process where agisoft will look at the photos we have provided and try to place the cameras in a way that will re-create our subject. From this process we will have the cameras appear around the subject and a sparse point cloud will be generated.

Another process window will appear, this one will be longer. These are a big part of Agisoft so become acquainted with these windows!

So, you will know if everything is going smoothly if the cameras appear as blue squares in a circle formation and a loose formation of points has appeared in a general shape of your subject. If the camera's annoy you you can turn them off with the camera icon at the top toolbar.
To move around the space, use
- middle mouse to pan
- scroll middle mouse to zoom
- left click and drag to rotate
To remove points, start by going to Edit > Gradual Selection. Gradual selection is quite complicated as to how it actually works, so I will go over how I use it to delete points but I will not go into detail as to what it is actually doing behind the scenes. First set the window to Reprojection Error using the drop-down menu. Set the slider to a 3rd or so of the way in, and hit enter. Now that some of the points are selected, hit delete to clean them up. Go to Edit > Gradual Selection but this time select Reconstruction Uncertainty. Slide the slider somewhere close to 0 and then hit enter, and delete again.
Now time to remove points by hand! If you press spacebar it will switch between the movement and selection tools on the toolbar. The selection tool can also be clicked to switch between different selection types. I recommend using the lasso and using it to trace around the model, picking up unnecessary points. This tool works very similarly to how the lasso tool works in Photoshop, making this process more of a "easy to learn hard to master" sort of step.
Once you are happy with the result, you can use Tools > Optimize Cameras to reproject camera positioning. When you are ready for the next step go to Workflow > Build Dense Cloud. You generally want to build on medium quality unless you have a really great rig or really nice pictures. You also want depth filtering to be aggressive unless, once again, you are sure your photos are perfect. You will get another process window, one that is very, very long. The higher quality you process on the more hours it will add on to your total time.

Now that you've been waiting, you'll get something that looks like this! Just kidding, you will get something that looks like this but with even more mess around the point cloud. Time to clean up again. You will want to follow the exact same process that you do for the sparse cloud again for the dense cloud. As you can see, the cloud I made had some holes, but as you will see at this point you shouldn't be worried yet. What you are looking for is something that closely resembles your subject, with ideally little clean up (if that ever happens...).
Once again, when you feel like you are ready to move to the next step, head to Workflow > Build Mesh. For the settings, you will want:
Surface type: arbitrary
Source data: dense cloud
Face count: high
Interpolation is the default option set that will try its best to fix the mesh, Exterpolated will try to fix holes but sometimes it can be a bit creative. I usually leave it on the default.

Your result should look like this! If there are still mistakes left over, you can still clean up using the same methods as above, or go back and clean more and re-create the mesh.
Now, you'll also want to generate textures using Workflow > Build Texture. Have your settings at:
Mapping: generic
Blending: mosaic
Size: 8192
And enable color correction. Once you render the textures you should get a mesh with a textural result that is similar quality to this:

After this, you can export both the mesh and the texture by right-clicking on the mesh under the chunk drop-down and selecting an export option.
This is more or less where my research ended. I took one of the meshes and textures I generated and pushed it into Substance Painter, but there is much more beyond what I have gone over that you can do to make a game-ready asset. At this point, I will continue to look into and research Agisoft in the future to further learn this program.
Here are some more pictures showing some projects I have worked on to learn this program.
Here's an example of when the subject becomes too varied:


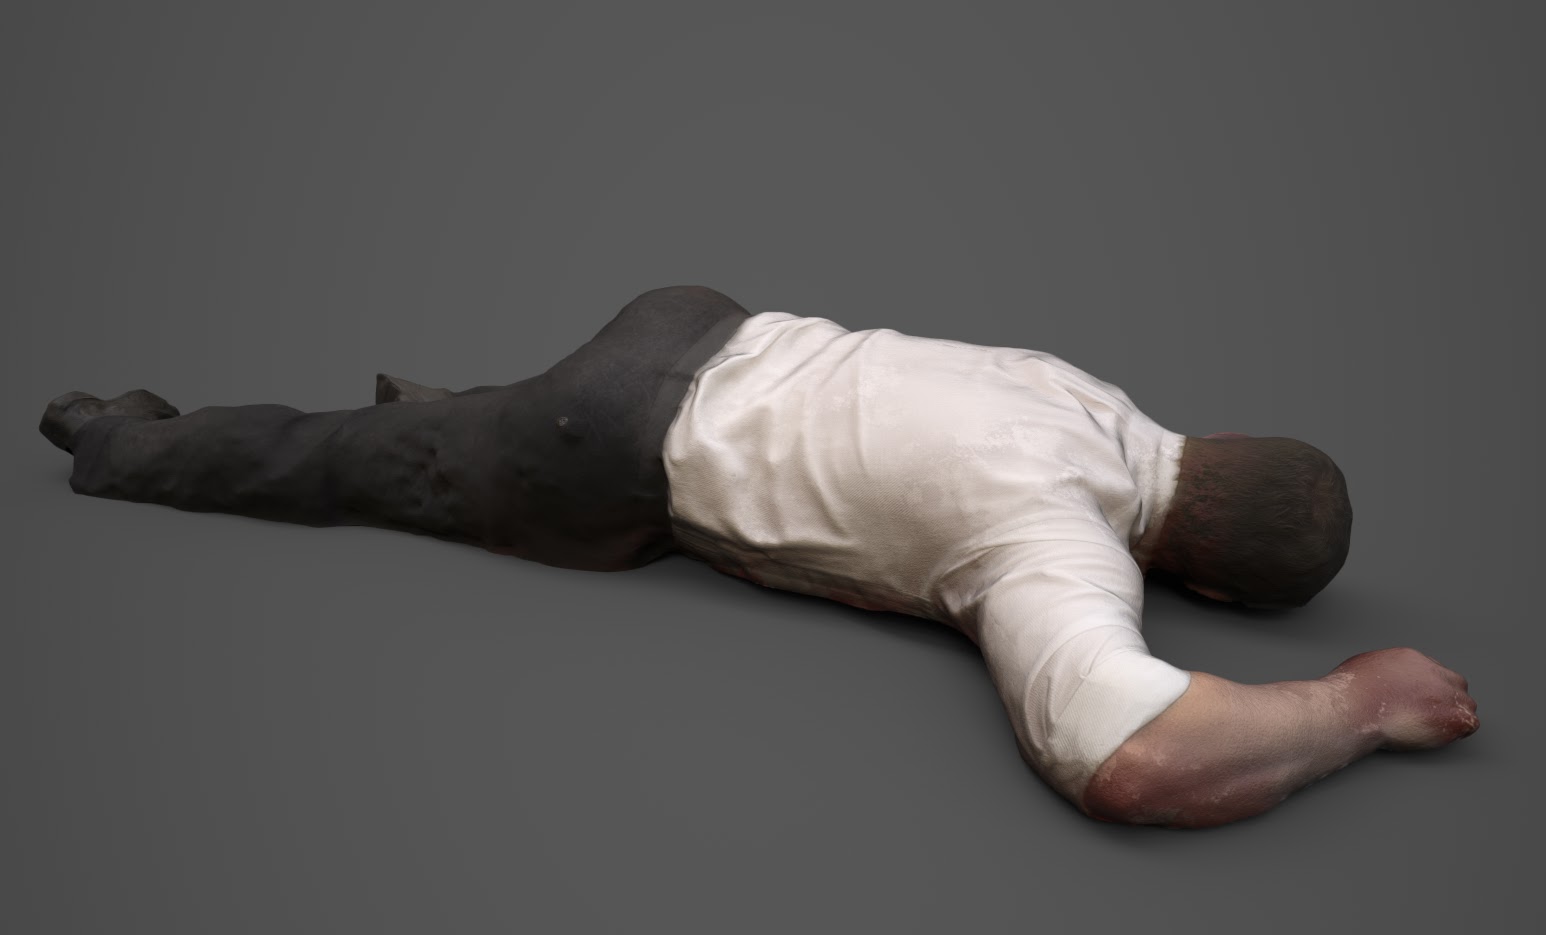
Here's a project I did where I tried to capture a "dead body" for an enviornment.